For our last day of Project Week, we returned to the Community Clay Center to learn how to throw on the wheel and to glaze the work that we had done earlier in the week.
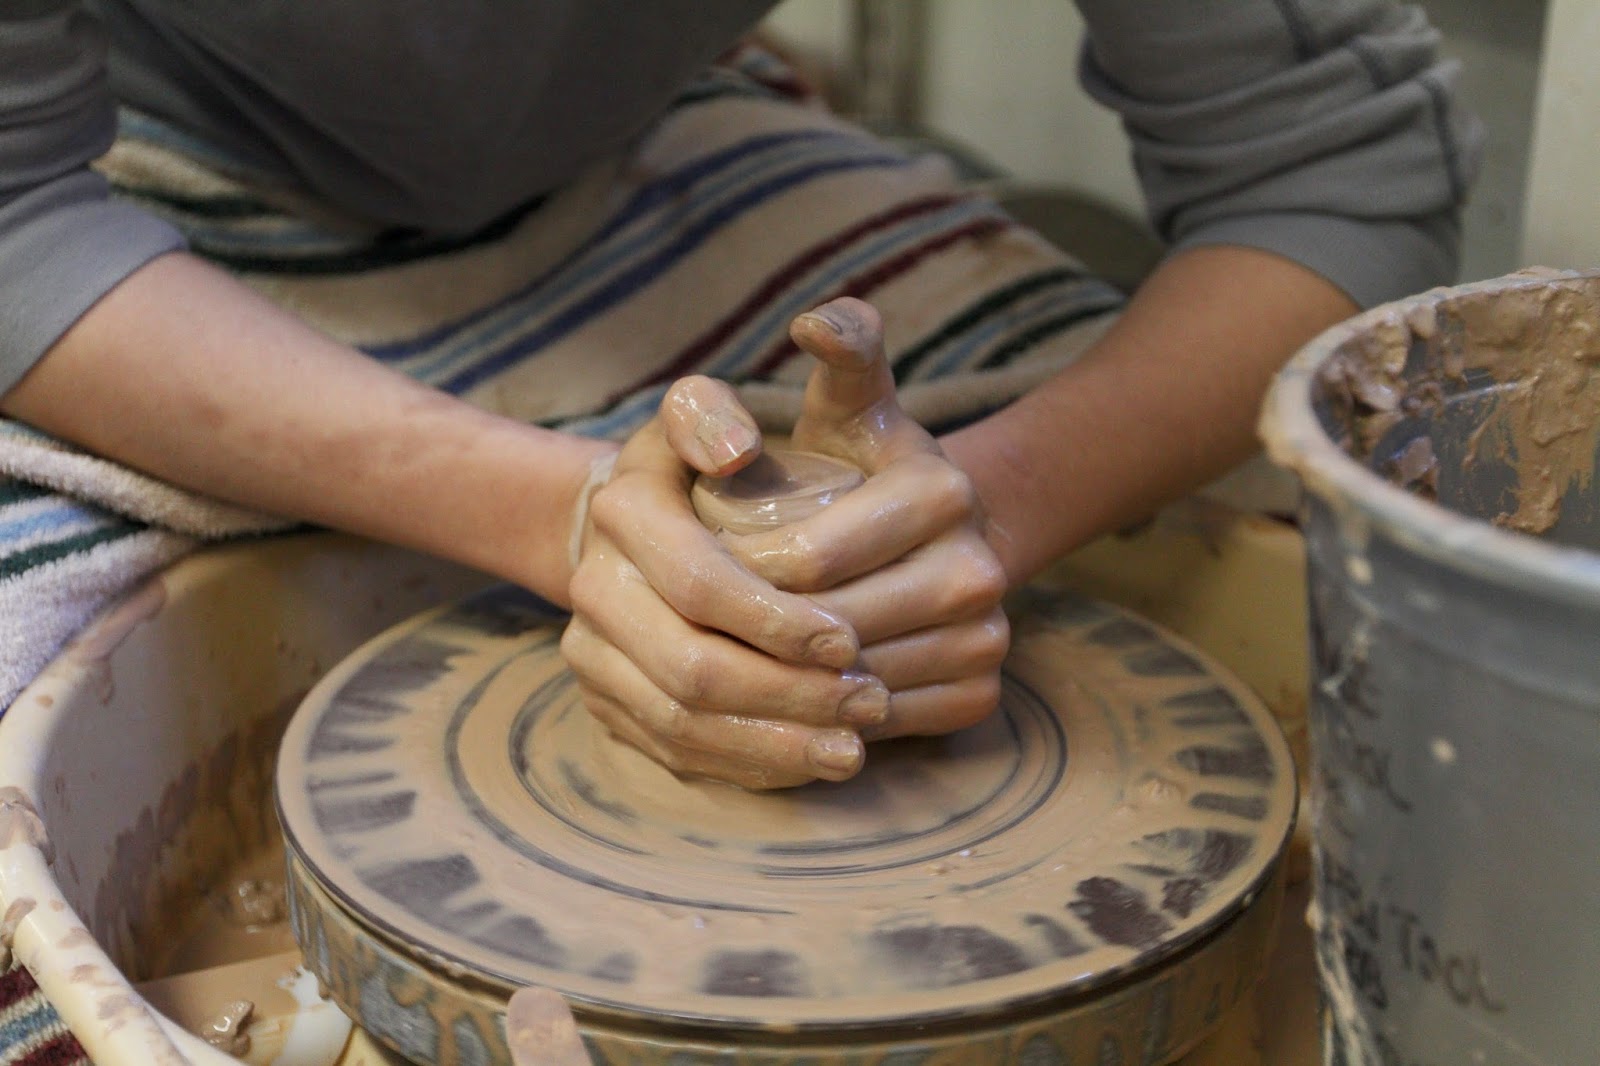
We spent our morning learning the fine points of how to throw. Tamara talked us through the process and then demonstrated twice. After we each wedged 2 two-pound lumps of clay, we were very ready to try it ourselves! We partnered up, one person at the wheel, the other acting as "coach" each step of the way. As a result we each created a small bowl or two. Tamara will fire and glaze these bowls for us after they dry.
 |
| centering the clay |
While we were working in metal over the last two days, the wonderful
ladies at the CCC, Tamara and Penny, speed dried our wares and bisque fired them for us. Our
work was ready to come out of the kiln at noon today. Everything survived, there were no explosions or breakage!
We spent three hours this afternoon learning how to glaze. This included cleaning the wares, waxing the bottoms of everything so that the glaze doesn't fuse the clay to the kiln shelves in the final firing, and preparing the glaze and then applying it to the interior and exterior of the works. We each had a lidded box, a mug with sgraffito, a tile, and at least one wet slab piece, if not two or three. (We will also have the two bowls that we threw on the wheel this morning.)
The people at the CCC will fire this glaze ware one last time. Ms. Wilson will get it and have it ready for us when we return from spring break.
 |
| First view of our fired art work! |
 |
| Some of our bisque ware before glazing |
Thank you Tamara and Penny and The Community Clay Center for teaching us and also for all of your behind-the-scenes work for us!


No comments:
Post a Comment